Creating Cognito User Pools with CloudFormation
Using Cognito in AWS

I’ve been working on creating AWS Cognito User Pools in CloudFormation, and thought this would be a good time to share some of what I’ve learned.
As an overview of this project:
- For sign-up, I’m creating Cognito users directly from my server app. It’s also possible to have users create their own accounts in Cognito, but that’s not what I want.
- I want to use email addresses as the user names, rather than having user names with separate associated email addresses.
- I don’t want the users to have to mess around with temporary passwords. This is part of the ordinary Cognito workflow, but I set the initial password in my server-side code and then immediately reset the password to the same value. So there is a temporary password, but the users don’t notice it.
- Sign-in is a transaction directly between the client-side app and Cognito; the client gets a JWT (JSON Web Token) from Cognito, which is validated by my AuthenticatedApi function on the back-end.
- The Cognito User Pool, Lambda functions, etc., are created by CloudFormation with a SAM (Serverless Application Model) template.
Sample Source
The source code for this project is available from my github. The disclaimer is that the source is pretty rough, and should be tidied before being used in production.
Template Generation
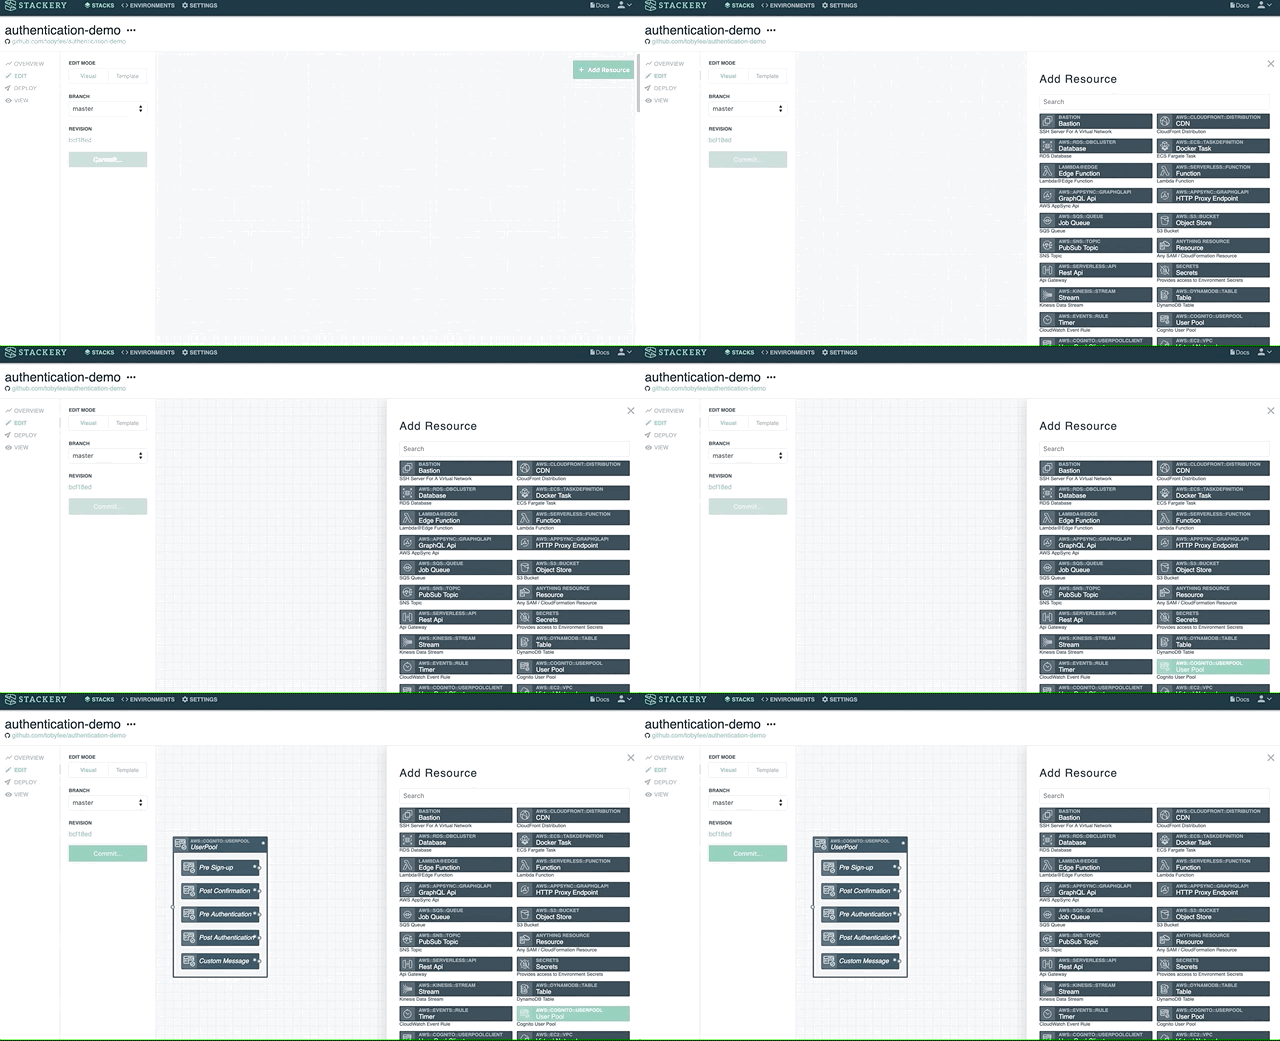
I used the Stackery editor to lay out the component and generate a template which you can interact with here:
The template is also available in the Git repo as template.yaml.
This is a simple application; I have an Api Gateway that my client app will hit, with one endpoint to effect sign-up and one to demonstrate an authenticated API. Each of these endpoints invokes a separate Lambda function. Those functions have access to my User Pool.
I’ve wired the User Pool’s triggered functions up just as an experiment. Currently all the triggers invoke my CognitoTriggered function, which is currently logging the input messages but that’s all – according to my understanding, these functions work by modifying the input message and returning it, but my function returns the input message unmolested.
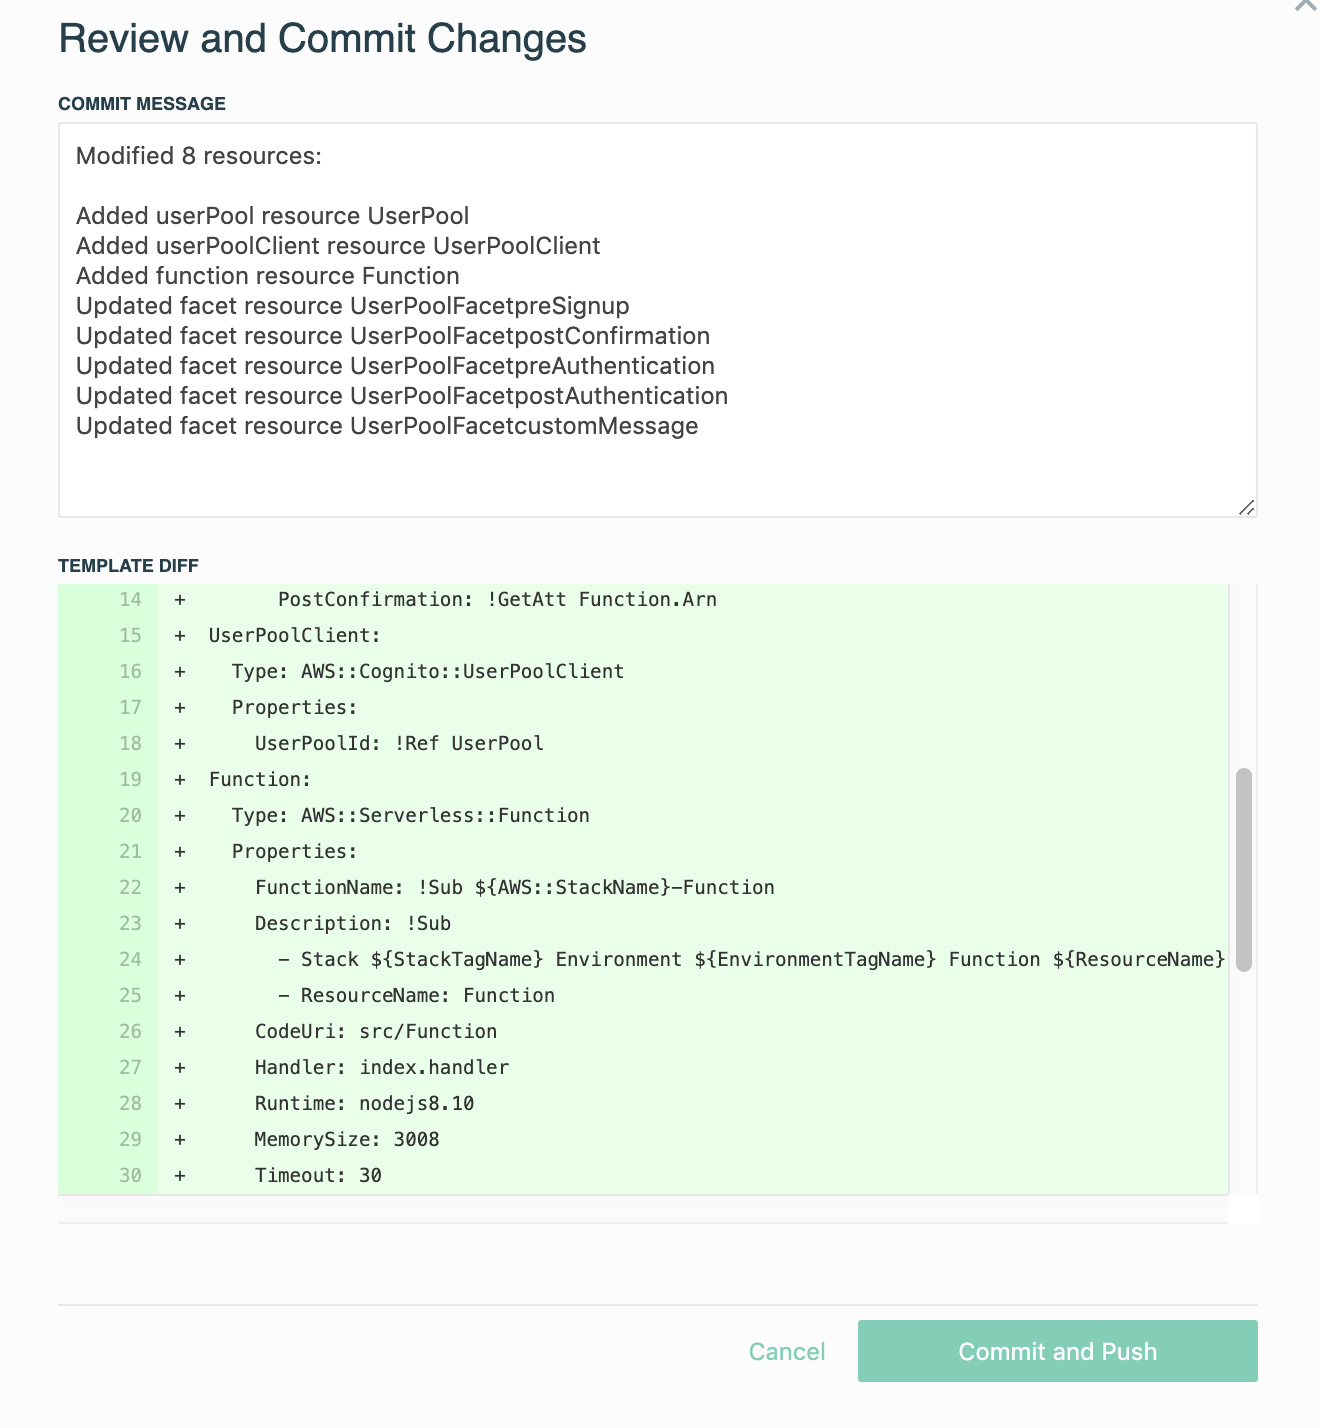
I’ve hand-edited the SAM template to add the user pool client:
UserPoolClient: Type: AWS::Cognito::UserPoolClient Properties: ClientName: my-app GenerateSecret: false UserPoolId: !Ref UserPool ExplicitAuthFlows: - ADMIN_NO_SRP_AUTH
I’ve set GenerateSecret to false because in a web app it’s hard to keep a secret of this type. We use ADMIN_NO_SRP_AUTH during the user creation process as Admin. I’ve also added an environment variable to each of my functions so they’ll get the user pool client ID.
Deployment
Of course Stackery makes it simple to deploy this application into AWS, but it should be pretty easy to give the template directly to CloudFormation. You may want to go through and whack the parameters like ‘StackTagName’ that are added by the Stackery runtime.
Client Tester App
Once you’ve deployed the app, there are a couple of parameters from the running app to be copied to the client. These go in the source code near the top. For instance, the URI of the API Gateway is needed by the client but isn’t available until after the app is deployed.
This may not be an issue for you if you’re doing a web client app instead of a Node.js app, but in my case I’m using the NPM package named amazon-cognito-identity-js to talk to Cognito for authentication. That package depends on the fetch() API, which browsers have but Node.js does not. I’ve included the package source directly in my repo, and added a use of node-fetch-polyfill in amazon-congnito-identity-js/lib/Client.js.
Run ./client-app.js --sign-up --email <email> --password <pass> to create a new user in your Cognito pool. In real apps you should never accept passwords on the command-line like this.
Once you’ve created a user, run ./client-app.js --sign-in --email <email> --password <pass>, giving it the new user’s email and password, to get a JWT for the user.
Assuming sign-in succeeds, that command prints the JWT created by Cognito. You can then test the authenticated API with ./client-app.js --fetch --token <JWT>.
Areas for Improvement
This is rather marginal sample code, as I mentioned, and there are several obvious areas for improvement:
- The
amazon-cognito-identity-jspackage isn’t meant for Node.js. I wonder if it makes sense to use the AWS SDK directly. - The
AuthenticatedApifunction gets public keys from Cognito on every request; they should be cached.
- The client-app uses the access token, but a real client app would have to be prepared to use the refresh token to generate a new access token periodically.
Stackery can make all this a lot easier
We’ve described how to get a user pool up and running, and one way to get access to that user pool within the AWS console. If you’re interested in speed running this process, Stackery can make this much much easier for you.

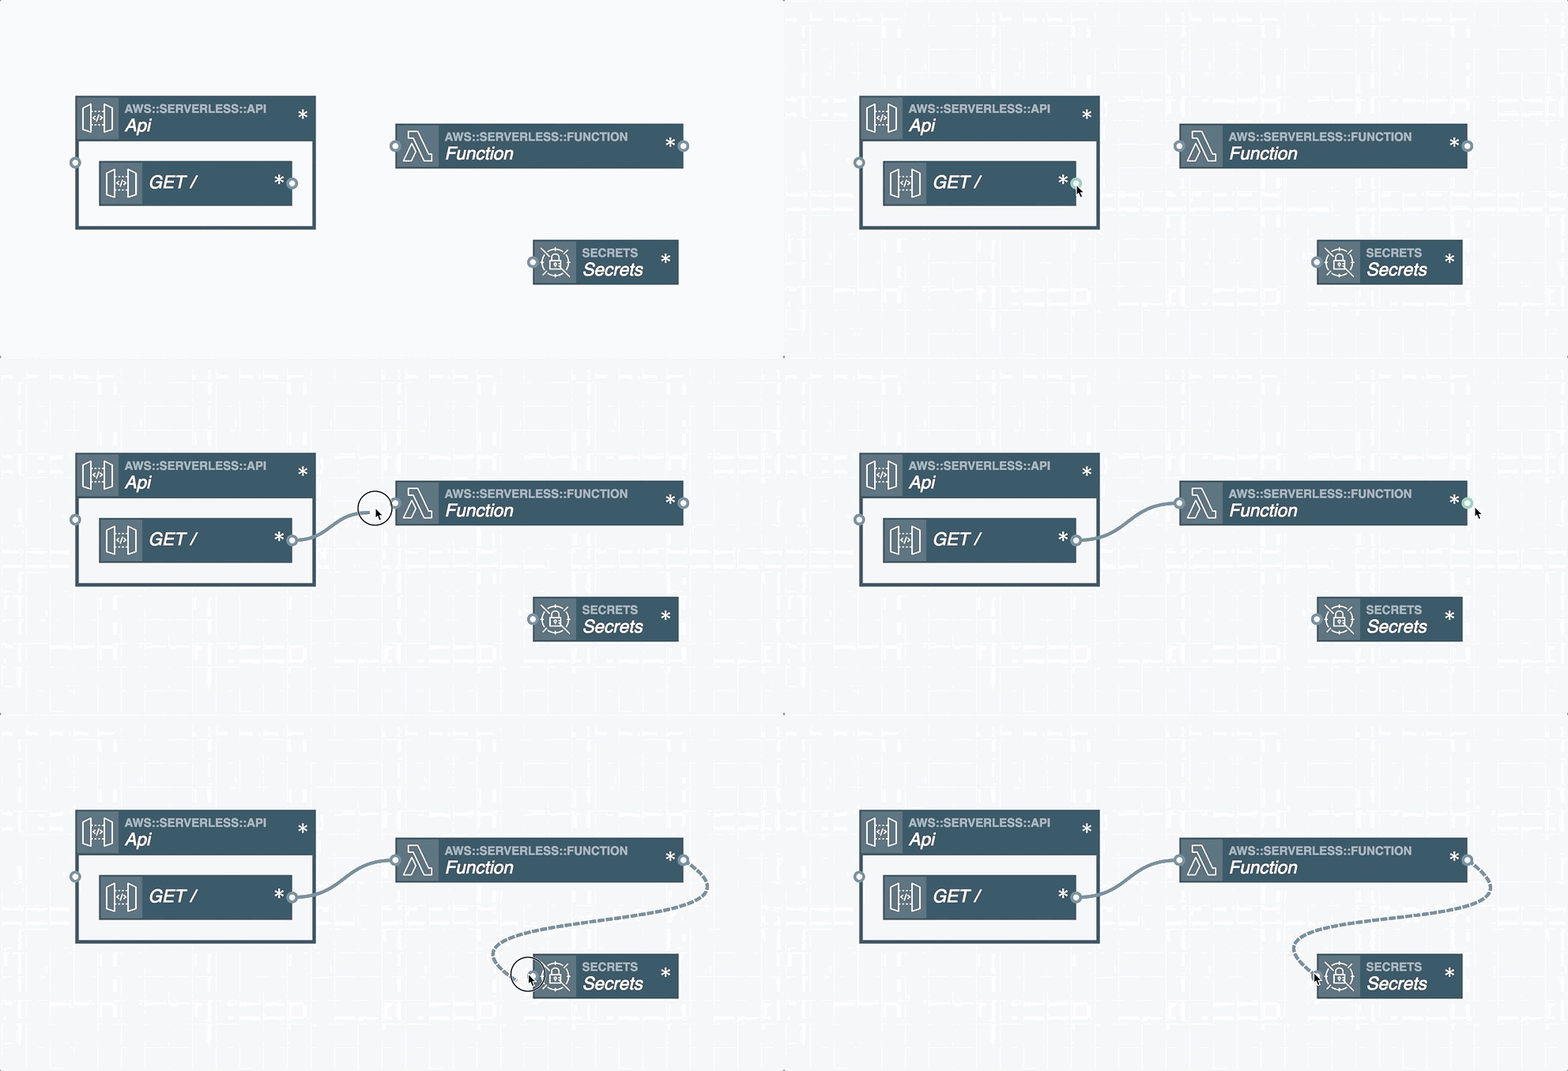
Stackery offers a visual tool that lets you plan a new stack with just a few clicks. Connecting resources like your Cognito User Pool and User Pool Client are as simple as drawing a line.

And once you’re happy with your configuration Stackery can push it to AWS; automatically creating the Serverless Application Model (SAM) template based on your diagram.
